Containers
Run ten ready-made applications or any Docker Hub image in isolated Podman containers, and bind them to a domain through a reverse proxy.
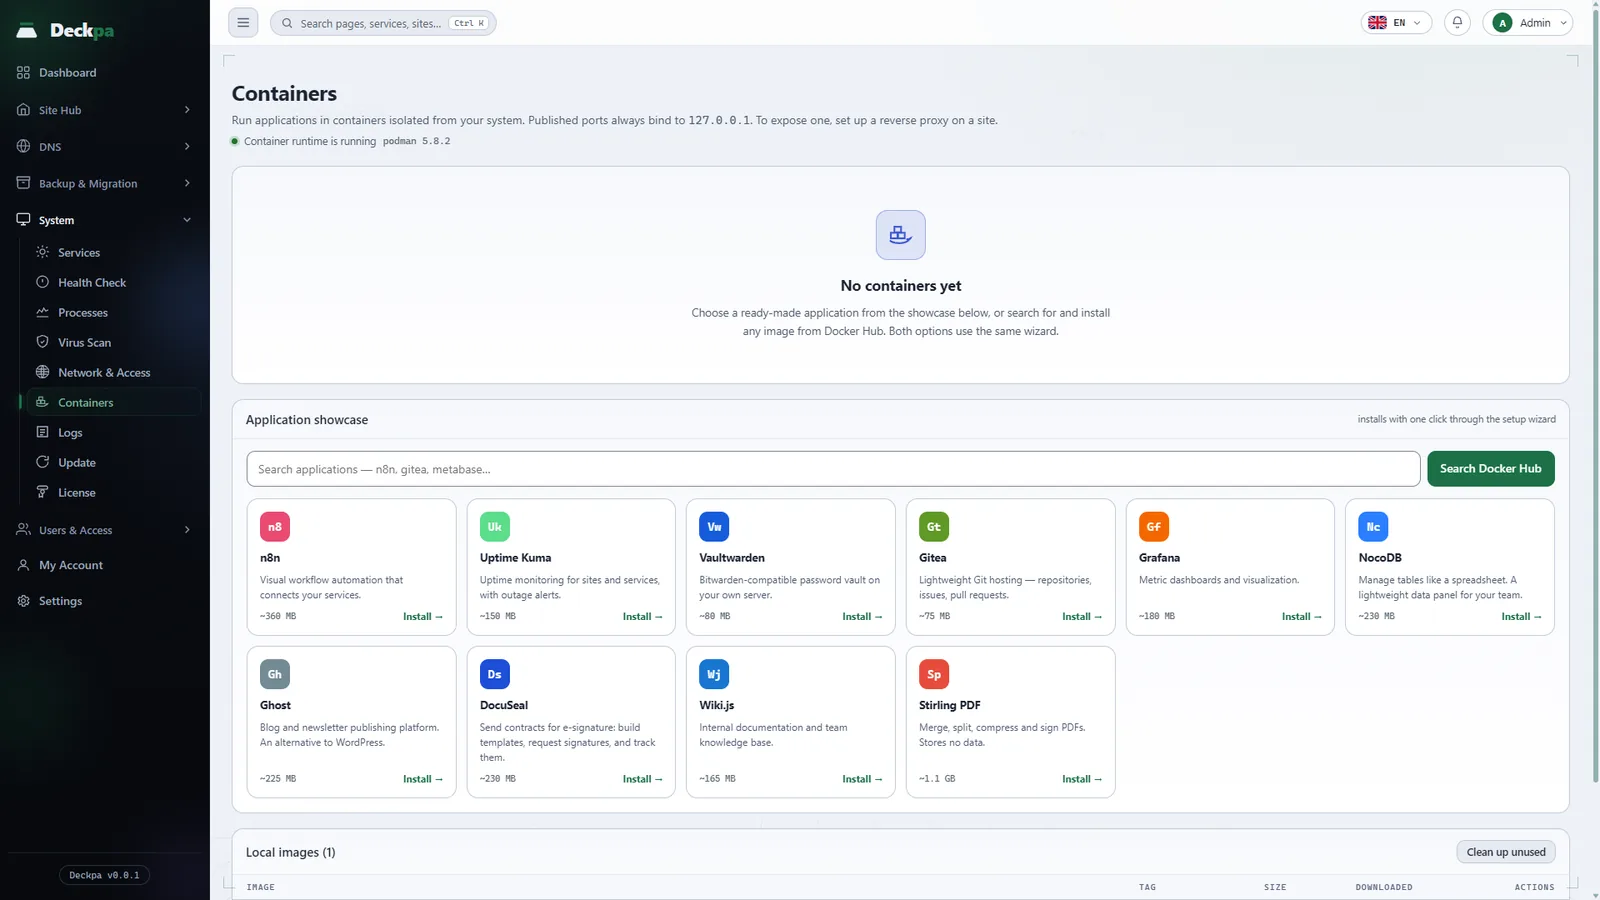
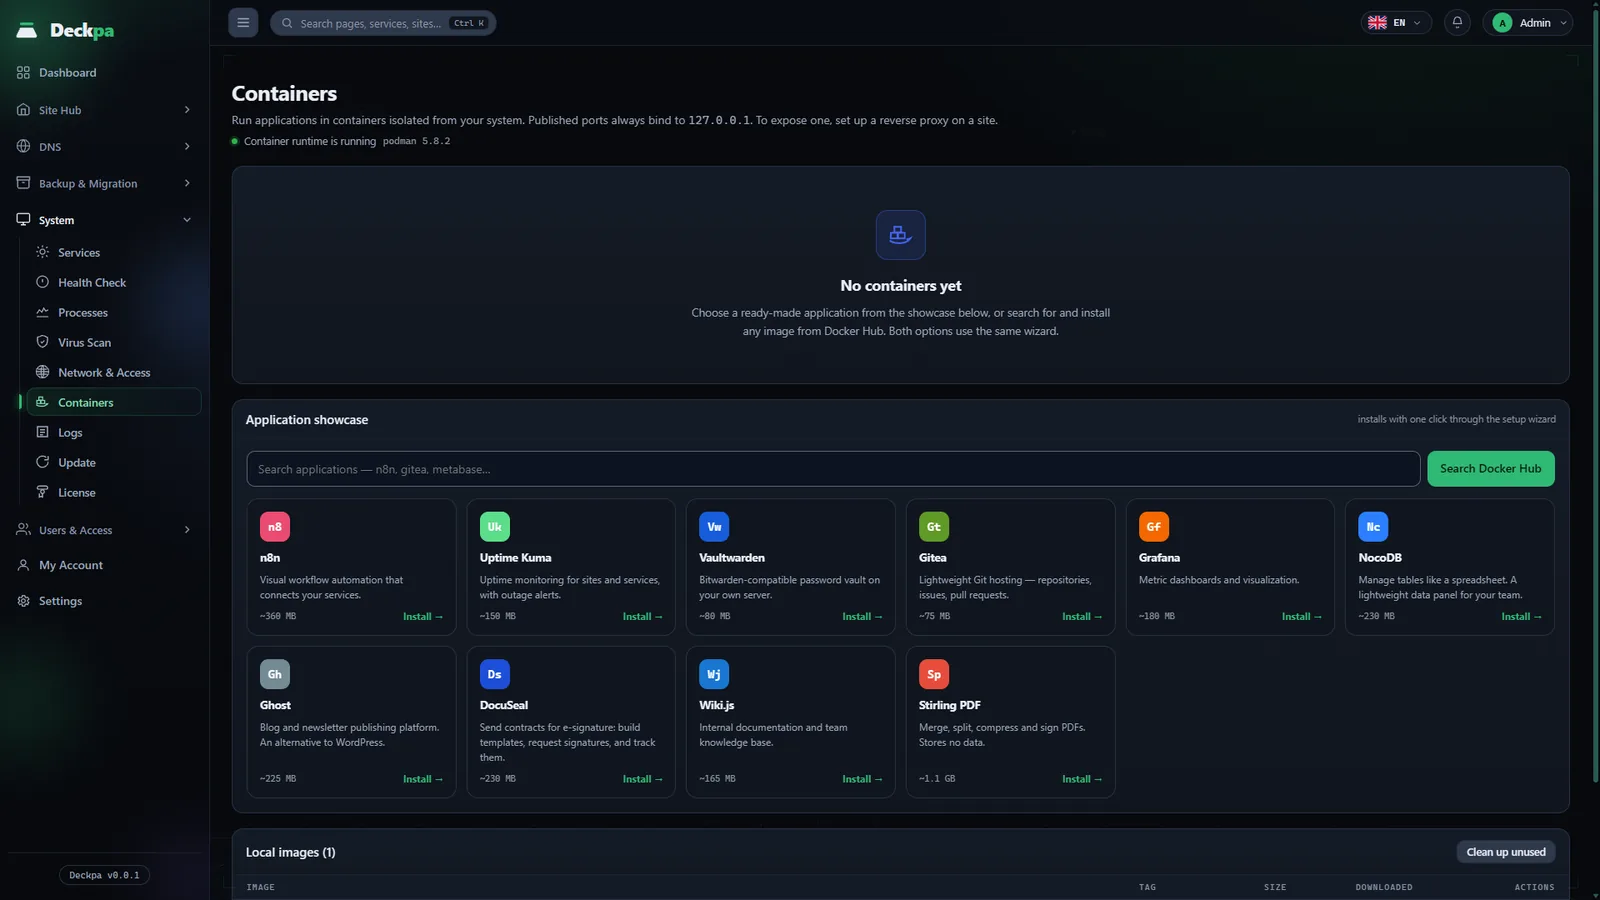
The container runtime
The System → Containers page is available to administrators only; it cannot be granted to any permission group. It runs applications that bring their own runtime (Java, Rust and similar) in isolated containers, separate from your sites and server services. For PHP applications, use the Apps installer.
The panel uses Podman first, and Docker if Podman is not there. If neither is installed, the page shows the Container runtime is not installed notice and an Install the container runtime button. The button installs the podman package and enables Podman's restart service so that containers come back after the server restarts. The install takes a few minutes and does not affect your sites. If the runtime is installed but not answering, the page shows Container runtime is not responding; in that case, check whether the service has stopped on the Services and Logs pages.
The application showcase
The showcase offers ten applications. Each image is pinned to a specific version tag; latest is never used, because when a container is recreated, an application could jump to a new major version without notice and become incompatible with its data. The recommended memory limit comes pre-filled in the wizard.
- n8n (Automation) — visual workflow automation. Recommended memory is 1 GB. It asks for a time zone.
- Uptime Kuma (Monitoring) — site and service availability tracking. 512 MB.
- Vaultwarden (Password management) — a Bitwarden-compatible password vault on your own server. 512 MB. It asks for the admin panel password and whether new account sign-ups are on or off; sign-ups are off by default.
- Gitea (Development) — a lightweight Git server. 1 GB.
- Grafana (Monitoring) — metric dashboards. 512 MB. It asks for the administrator password.
- NocoDB (Data) — a team data panel for managing tables like a spreadsheet. 1 GB.
- Ghost (Publishing) — blog and newsletter publishing. 1 GB. It has a required Site address field; Ghost builds every link it generates from this address. If it is wrong, the site opens but images and the admin panel look broken. The field fills in automatically from the domain you pick in the access step.
- DocuSeal (Documents) — send contracts for e-signature. 1 GB.
- Wiki.js (Documents) — internal documentation and a team knowledge base. 1 GB.
- Stirling PDF (Documents) — merge, split, compress and sign PDF files; it keeps no data. 2 GB.
For an application that is not in the list, type its name in the search box and press Search Docker Hub; you can install any image from Docker Hub through the same wizard. On this path you provide the port, memory and settings yourself.
The install wizard
The wizard has four steps: Application, Settings, Access and Summary. The Settings step contains:
- Container name: must start with a letter or digit and can contain letters, digits and
_ . -. It is listed under this name in the panel, and its data is stored in a volume tied to this name. - Version: the most recently updated Docker Hub tags are listed. Pinning a version prevents the image from unexpectedly moving to a new major release.
- Memory limit: if the app exceeds this limit, the kernel stops it. The panel accepts 16 MB to 65536 MB; the wizard offers 512 MB, 1 GB, 2 GB and 4 GB.
- CPU limit: the wizard starts at 1 core, and unlimited can also be chosen. The limit is the maximum the container can use; it does not keep cores busy while idle. An app left unlimited can slow down other sites on the same server at peak times.
- Host port and Port the application listens on: for showcase applications the panel suggests a free port. For Docker Hub images you type the port yourself; if you enter a host port, the application's port is required too. The panel immediately checks whether the port you typed conflicts with a reserved system port, a port that is open on the Network & Access page, or another container.
After the install, the panel watches the container for a while to see whether it stays up. If the application stops immediately or keeps restarting, the panel reports it as an error; the most common cause is a memory limit that is too low, and the fix is to reinstall with a higher limit.
Binding a domain
A container's port is always bound to 127.0.0.1 only; it is never opened directly to the internet. A reverse proxy is used to reach the application by domain name. In the Access step you pick a site or subdomain; you can also bind later with the Bind domain button in the list.
Binding adds a proxy block to the selected site's configuration and reloads the web server. No new port is opened in the firewall; traffic goes to the container without leaving the server. The only port open to the outside is 443, which is already open, and the domain's SSL certificate is used. For that reason, the domain must already have its certificate (see SSL certificates).
- Use a subdomain. The selected domain is dedicated entirely to this container: the PHP site is no longer served at that address, and all requests go to the container. If you pick a main site, what is published there becomes unreachable. First add a subdomain on the Sites page (for example
automation.example.com). - One container, one domain: a domain binds to one container at a time, and a container can have one domain. If another binding exists, the panel asks you to remove it first.
- Custom proxy conflict: if the site's custom server settings already contain a rule that routes the root address, the binding is refused and the panel names the file. Remove that rule first or pick another domain. If the custom settings cannot be read, binding is not done either.
- Undoing it: the Remove domain binding icon deletes the routing; the container keeps running, and the site configuration returns exactly to how it was.
Managing, backing up and upgrading
For each container, the list shows the name and image, the health (Healthy, Unhealthy, Starting), the local access port and the bound domain, and CPU and memory use against the limit. The icons on a row perform Start, Stop, Restart, Backups, Upgrade version and Delete. The Details window has Overview, Resources, Processes and Logs tabs; Logs shows the last 200 lines of the container's own output, and the panel does not store them, so deleting the container also deletes its logs.
- Changing limits: Apply limits and restart recreates the container with the new memory and CPU limits. The data volume stays in place and the interruption lasts a few seconds. If the new limits cannot be applied, the panel brings the container back with its old settings.
- Backup: Back up now puts the container's install recipe (image, port, memory, settings) and its data volume in one archive. For consistency, the container is stopped briefly during the backup and then started again. Archives stay on the server under
/var/lib/deckpa/container-backups; to protect against losing the server, download a copy with Export (Data only or including the image). - Restore: Restore next to a backup reinstalls the container and deletes the current data; it cannot be undone.
- Upgrading the version: the container is reinstalled with the image of the version you select; the data volume, port, memory limit and domain binding are kept. It is recommended to keep Back up before upgrading turned on. If the new image cannot be downloaded, nothing is touched; if the install fails, the panel goes back to the old version on its own.
- Deleting: Delete permanently deletes the container and its data volume. Backups are not deleted; if you have a backup, you can reinstall the container from it.
- Images: in the Local images list you can delete images one by one, or remove every image that no container uses with Clean up unused. A deleted image is downloaded again when it is needed.
On the server, you can also look at the same containers from the command line (as root; replace n8n with your own container name):
podman ps
podman logs --tail 50 n8n
Isolation and limits
The panel does not start containers with free-form commands; it builds fixed parameters itself. Only the name, image, port, memory and environment variables are accepted as input, and all of them are validated. As a result, every container runs under these rules:
- No server directory is mounted. Only a named data volume is attached; no folder on the server is opened inside the container.
- No extra privileges are granted. There is no option in the panel for privileged mode, extra capabilities or device access, and privilege escalation is turned off.
- The port is on
127.0.0.1only. Exposure to the outside happens through one path, the reverse proxy. - Memory and process limits. You set the memory limit; the number of processes is capped at 512 per container.
- Secret values are not visible on the command line. Environment variables such as passwords are passed from a temporary file that only root can read; other users on the server cannot see them in the process list.
The container runtime runs as root on the server. For this reason, isolation depends on the rules above; do not install an image you do not trust.