Adding a site
Every site is created with its own Linux user, its own home directory and the PHP version you choose.
Create the site
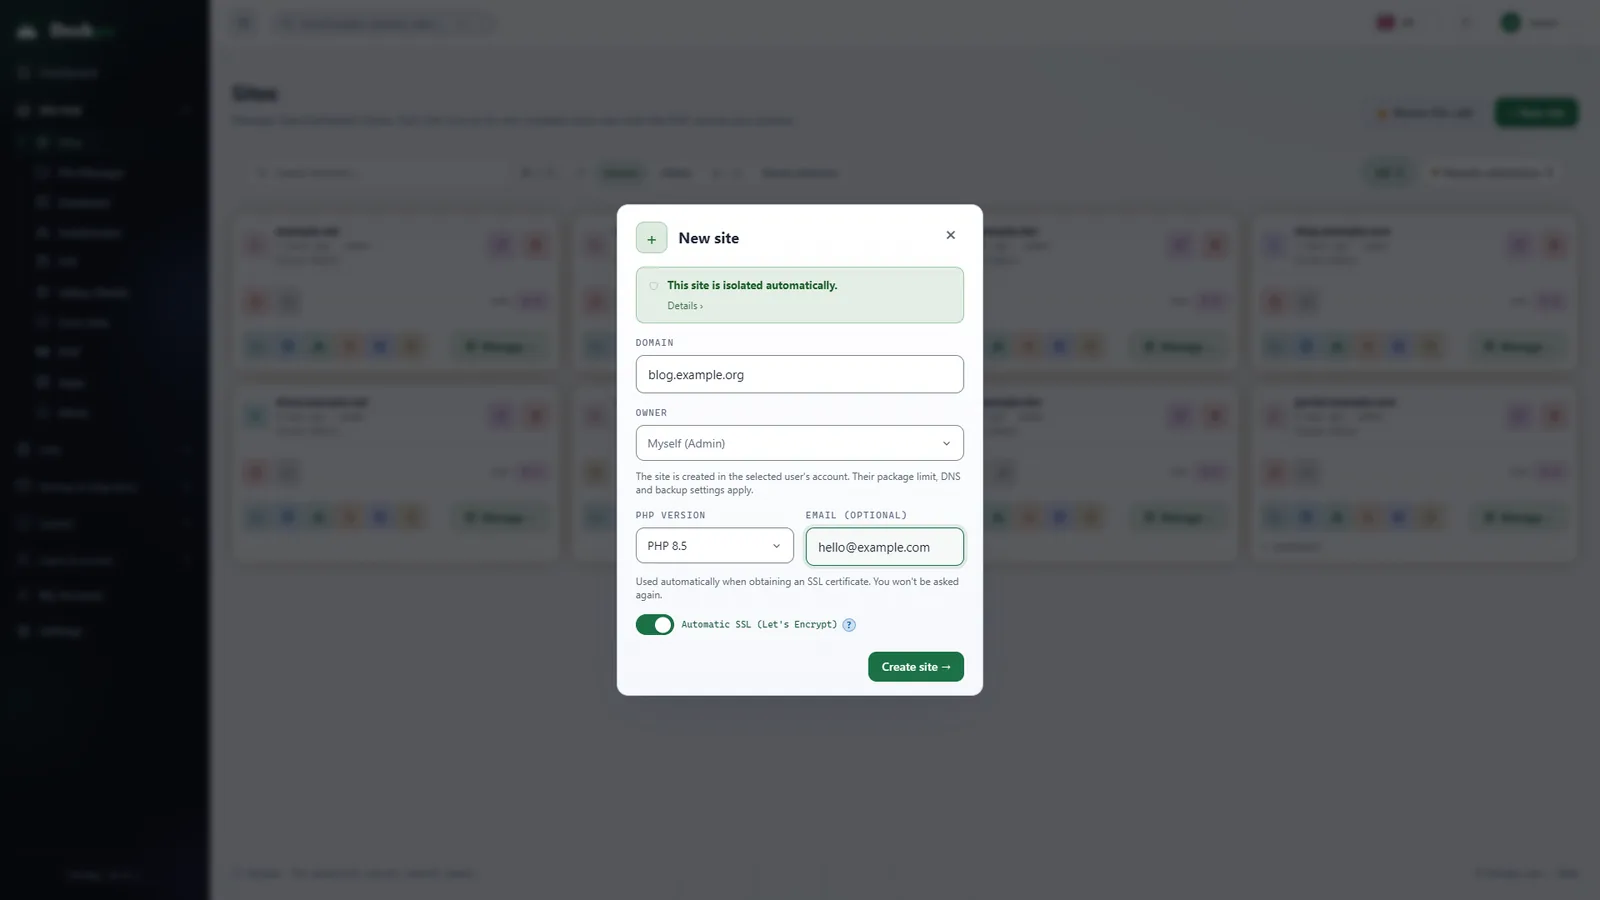
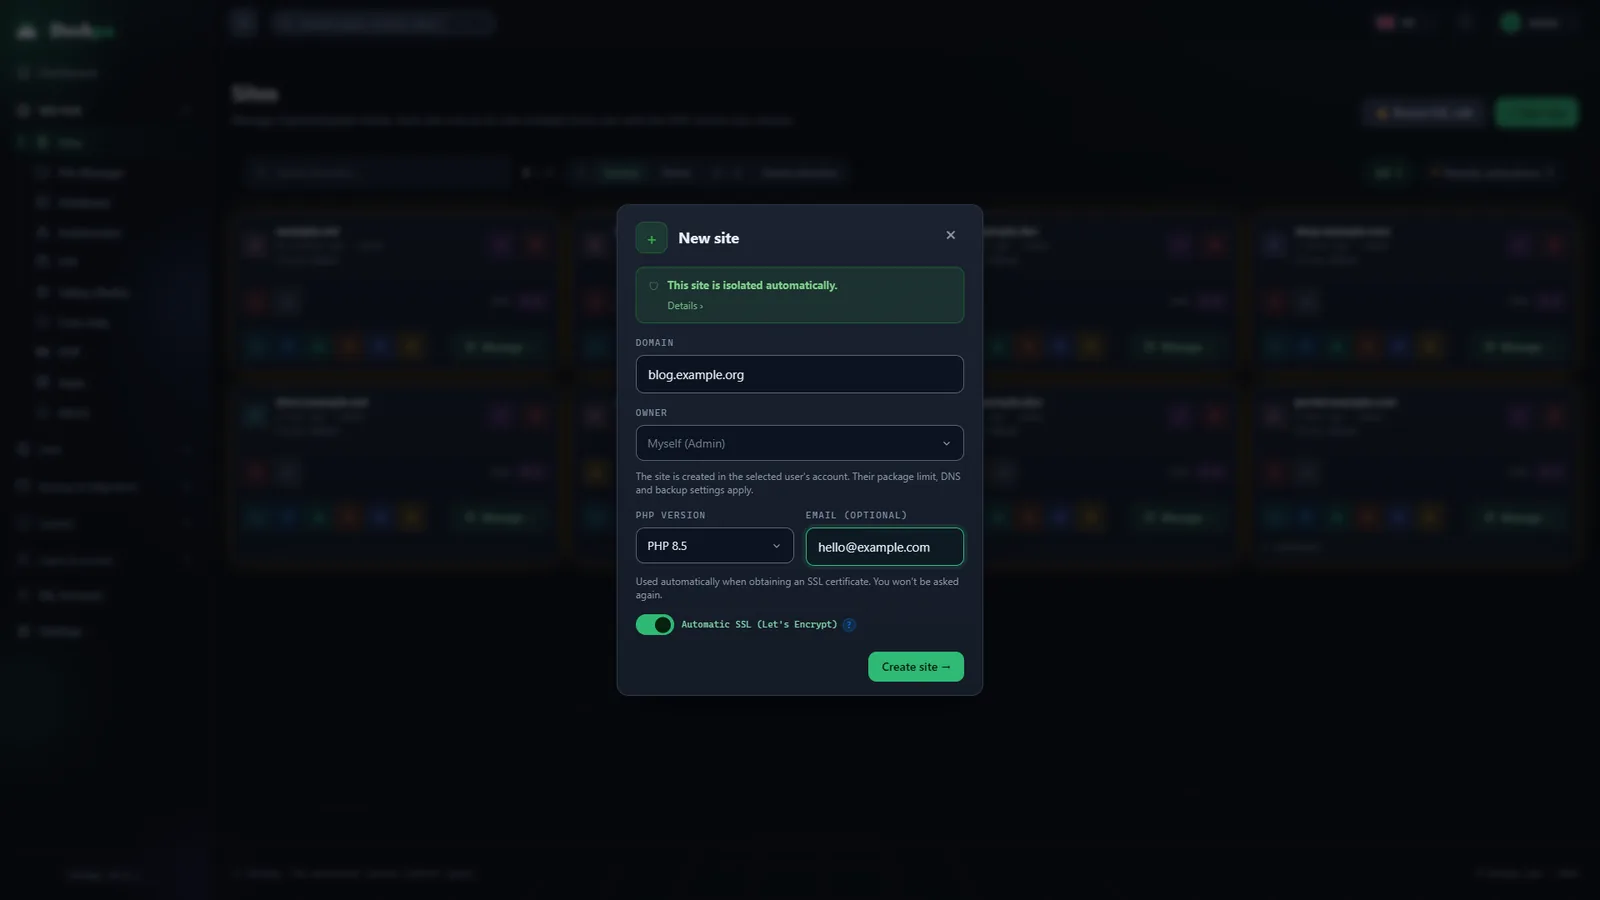
In the panel, go to Sites → New site and enter the domain. Three things are decided in this step:
- An isolated Linux user — the site runs under its own user and home directory; one site cannot read another site's files.
- The PHP version — you pick one of the installed versions and can change it later (see PHP version and settings).
- Automatic SSL (Let's Encrypt) — if you leave it on, a certificate is issued as soon as the domain points to the server.
When you save, the site's OpenLiteSpeed configuration, home directory and default permissions are created, and the SSL step finishes in the background.
Point the domain to the server
The domain's A record must point to your server's public IP address. You can find the IP address in your hosting provider's control panel, or see it on the server with this command:
curl -s https://ifconfig.me
The panel writes the @ and www A records to its own DNS zone, and to Cloudflare too if the domain is already active there (see DNS management). If the domain does not point to this server yet, the site is still created; only the SSL step stays in the "Waiting on DNS" state, and the panel retries every hour for 48 hours.
Upload files
You can upload files with the panel's file manager, or create an FTP account for the site. If you are the server administrator, you can also copy files over SSH; site users have no SSH access of their own. The site's document root is the public_html folder in the home directory named after the domain:
/home/<domain>/public_html
If you copied files from outside the panel, file ownership may be wrong. The Repair action gives ownership of all files back to the site user and resets permissions to safe defaults.
Create a database
On the Databases page, create a MariaDB database and user linked to the site. In your application's configuration file, connect through the local server:
DB_HOST=127.0.0.1
DB_NAME=acme_shop
DB_USER=acme_shop
DB_PASS=password-created-by-the-panel
The database is included in the site's backup, so no separate step is needed (see Backup and restore).
Pre-launch checklist
- The domain points to this server and the site opens in a browser.
- The SSL certificate has been issued and the browser shows no warning (see SSL certificates).
- The PHP version is the one your application requires, and the required extensions are installed.
- The backup schedule is turned on for this site.
- File permissions have been repaired, and no sensitive files are left outside
public_html.